Updating Klipper
Contents:
- Recompiling Klipper
- SD-card not accepted
- SD-card formatting
- Partitioning the SD-card
- Flashing the printer board (“mcu”)
Tip
If you have trouble following these steps, you may take a look at Vasyl’s guide: https://github.com/vasyl83/SV07update?tab=readme-ov-file#12-updating-the-host-mcu-rpi--mcu-firmware
It explains the same steps in a more beginner-friendly way.
Recompiling Klipper
- First log in to the device using ssh or putty.
- You need to recompile and install klipper twice.
Once for the virtual mcu (“mcu-rpi”) on the KlipperScreen, and another time for the printer-board (“mcu”), which needs to be flashed via SD-card after that. - Compiling klipper for “mcu rpi” (virtual mcu of the Klipper screen):
cd klipper make menuconfig- Select “Micro-controller Architecture” and set to “Linux process”.
make clean ; make ; sudo make flash
- Select “Micro-controller Architecture” and set to “Linux process”.
- Compiling klipper for “mcu” (the printer board):
cd klipper make menuconfig- Change following settings
- Micro-controller Architecture: STMicroelectronics STM32
- Processor model: STM32F103
- Bootloader offset: 28KiB bootloader
- Communication interface: Serial (on USART1 PA10/PA9)
# make clean ; make
- Copy “out/klipper.bin” to SD-card and rename it (must end in “.bin”).
!!! Use a different name than that from prior updates (e.g. add some random numbers) !!!
(The printer remembers the filename that was used for flashing and won’t use it again.)- The printer is very picky about the format of the SD-card, make sure to format it with exactly these settings:
- Card size: Smaller than 32GB, but bigger than 2GB (you can create a smaller partition on bigger cards)
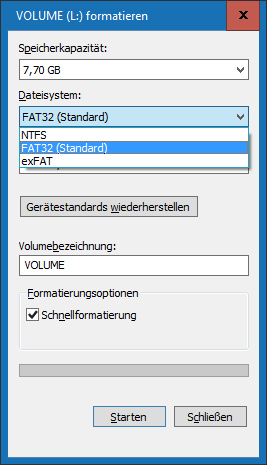
- Filesystem: FAT32 (FAT12/FAT16 also works). Don’t use exFAT or NTFS or anything other!
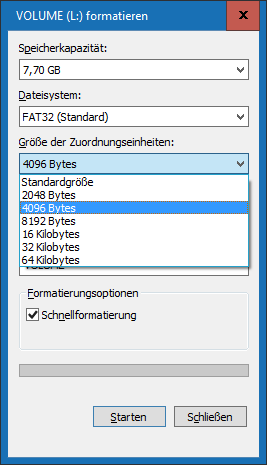
- Sector size: Must be set to 4096 (bytes per sector)
- Better don’t have any other files or directories on that card.
- The printer is very picky about the format of the SD-card, make sure to format it with exactly these settings:
- Change following settings
SD-card not accepted
- Firmware.bin file has to be renamed for each(!) update (*1)
- Use a card smaller than 32GB but bigger than 2GB (*2)
- Format only as “FAT32” (do NOT use “exFAT” or “NTFS”)
- Set the sector size to 4096
- Have no other files or directories on that card
*1: It only gets installed, if the filename differs from the one, which was used for the current installation.
*2: Smaller than 2GB does not support 4096byte sectors, larger than 32GB does not support FAT32. If your card is bigger, create a partition which is smaller than 32GB.
Some info about SD-cards taken from here.
SD-card formatting
Use these steps only if your card is max. 32GB sized.
If your card is bigger than 32GB, skip these steps and continue with Partitioning the SD-card.
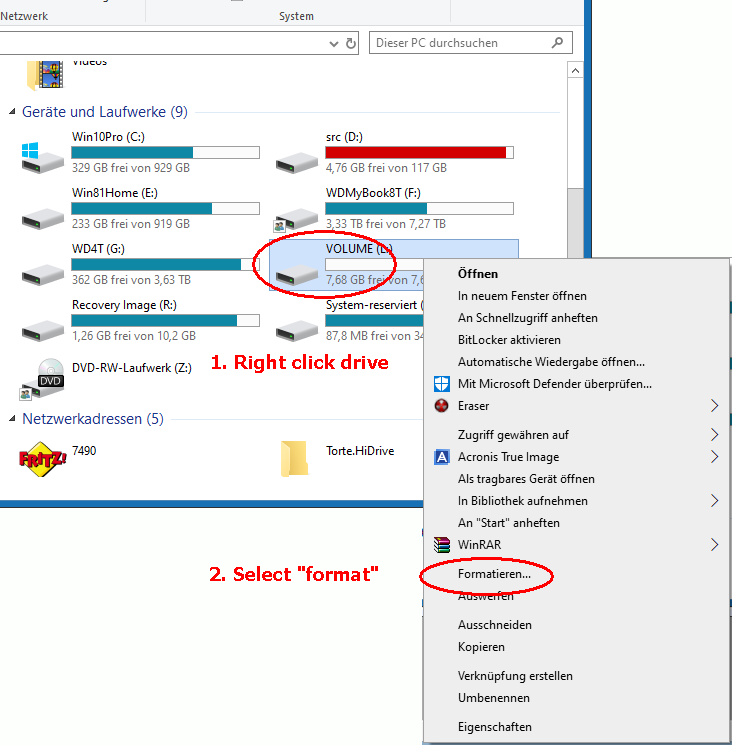
- Insert the SD-card to your PC.
- Open the explorer. Locate the card, click it with the right mouse button and select “Format”:
- Use exactly these settings (FAT32, 4096bytes), others do not work.
(If there is no “FAT32” option, then the card has the wrong size. It needs to be 2GB to 32GB.)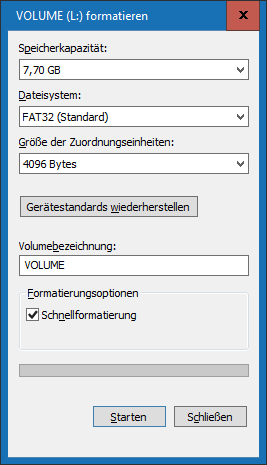
- Continue at Flashing the printer board (“mcu”)
Partitioning the SD-card
Use these steps only if your card is bigger than 32GB.
For smaller cards follow the SD-card formatting steps.
- Press <Windows>+R key combination, enter “diskmgmt.msc” and press <Enter>.
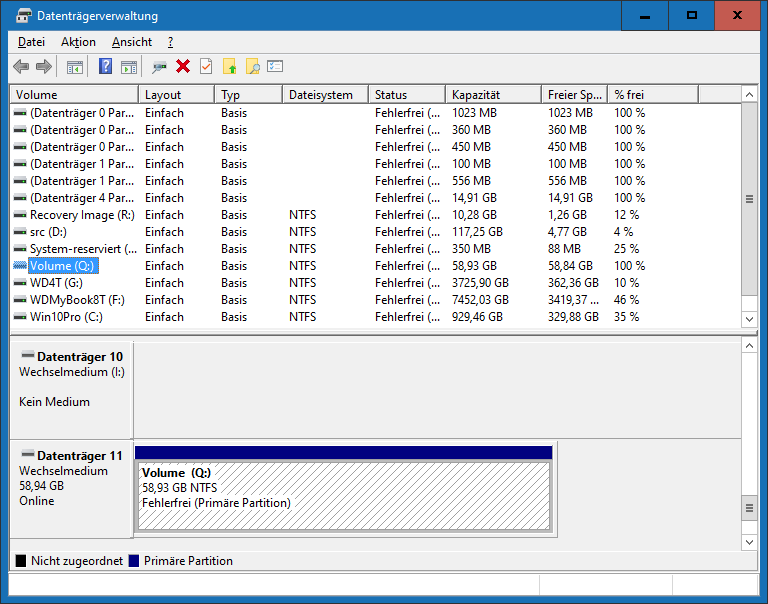
- Locate the SD-card, right click it in the lower pane and select “delete volume”:
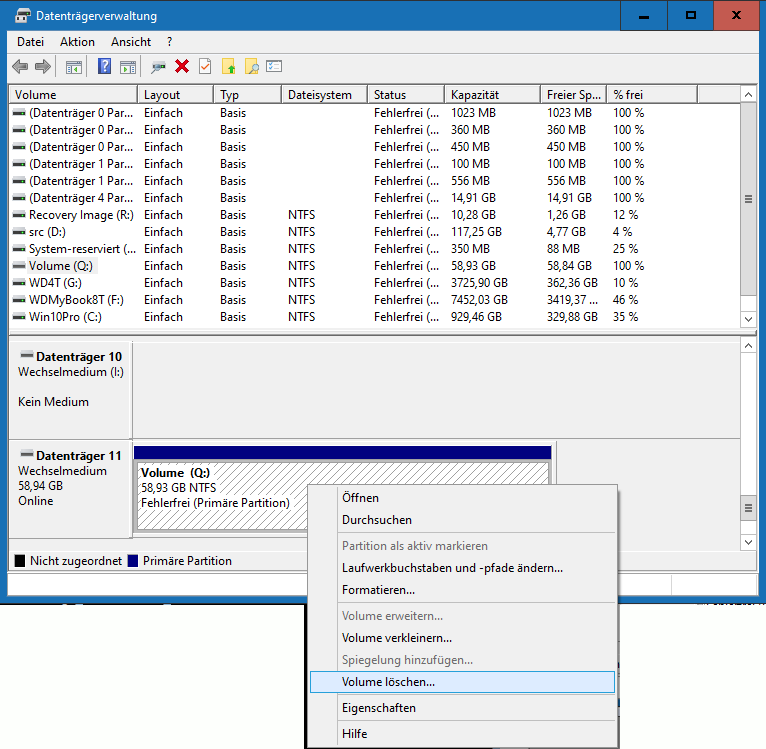
- Right click the lower pane again and select “create new volume”:

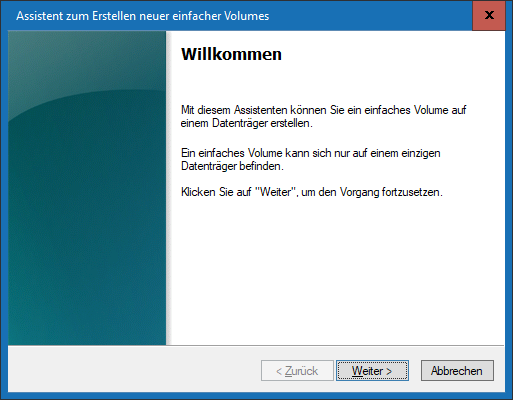
- Press “Next” on the welcome screen:
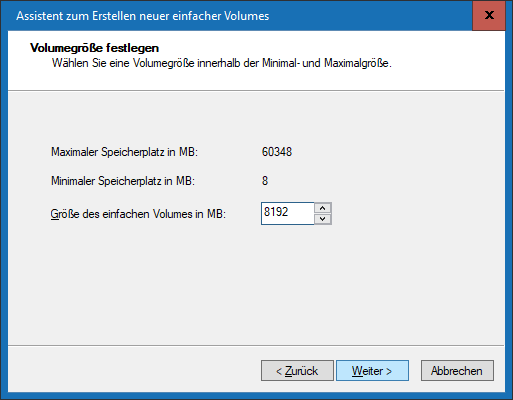
- Set the volume size to 8192 MB (allowed sizes are 2048 to 32767):
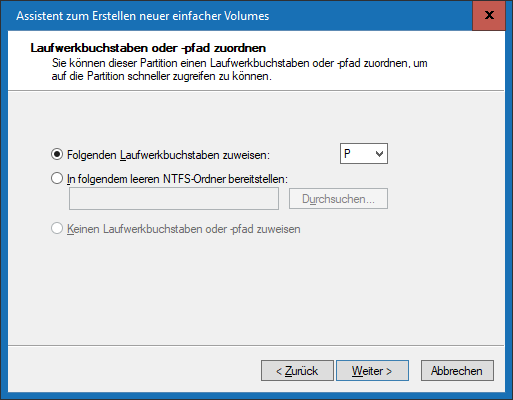
- Make sure to use a drive-letter that is not in use e.g. by a network drive:
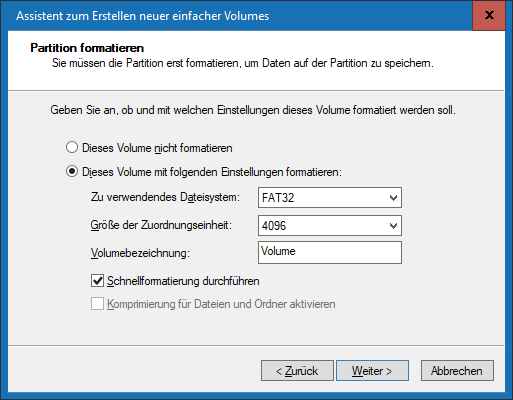
- Make sure to set sector size to “4096” and filesystem is “FAT32” (other options will not work):
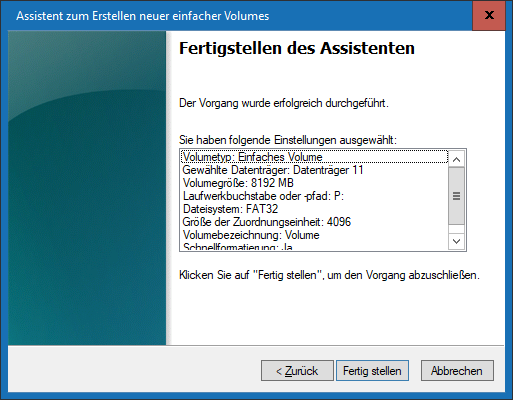
- Select “next” in the confirmation dialogue:
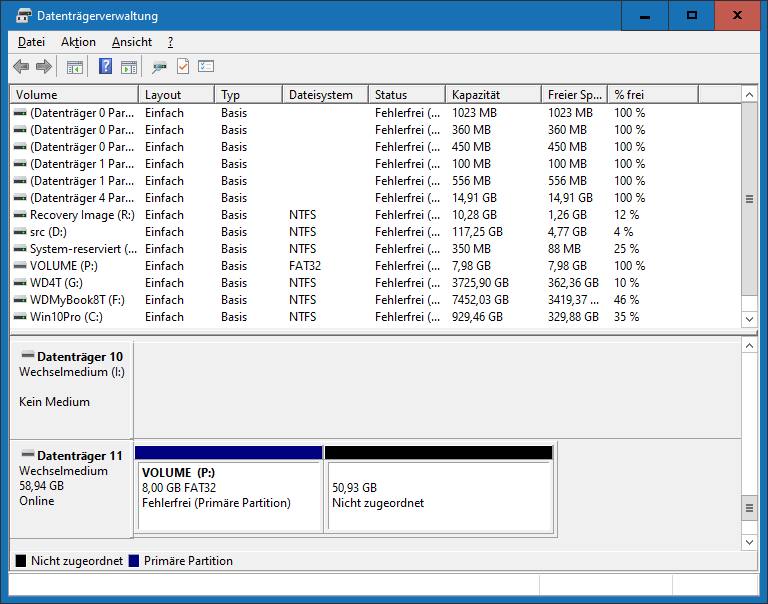
- Finally, the new partition will look like this:
Flashing the printer board (“mcu”)
- After formatting is done, copy the firmware file to the SD-card.
Remember to give it a different name for every(!) flash operation!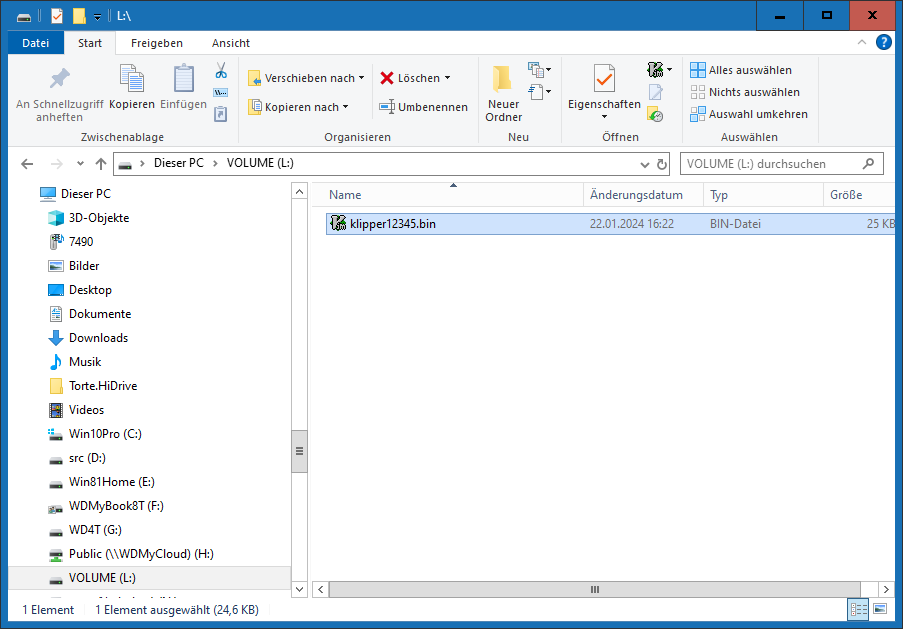
- Eject the SD-card from the PC.
- Power down the printer.
- Insert the SD-card to the printer (directly accessible on SV06/SV06+, on SV07/SV07+ you need to remove the front panel).
- Power on the printer and wait.
- If flashing was successful, Klipper will be able to connect to your printer.
- If Klipper is not able to connect to your printer after ~5 minutes, flashing did not work. Repeat the above steps.